Using gels in a small studio
In the world of photography, it seems like gels can be a touchy subject. You either love them or you hate them!
Personally, I'm always up for a dash of colour and when starting to take photographs, I found them a very frugal way to add something extra to my studio portraits.
Working with gels can be subtle or it can be standout but the most important tip is to remember that you want them to look flattering in the final image as they can detract from the overall look as much as they can enhance.
When shooting gel portraits, I use two inexpensive Neweer LED lights, on stands at the height of the model's cheekbones. If you imagine the face of a clock and your model is sat at the 12 point, I position the lights at 2 and 10, so they they don't leave any harsh shadows on the face. This is a preference of mine but experimenting to find your own preference always pays off!
The Neweer LED lights don't come with gels included so I purchased a pack of A4 sheet gels for around £8 from Ebay and my husband lovingly cut them to size for me so that they slot onto the front of the Neweer lights. The great thing about using LED lights is that they don't get hot, so there is no worry of the gels burning or melting!
When shooting I like to use the LED lights because they are continuous, meaning that I can set up my camera as if I would in natural light without having to worry about lots of metering. I usually turn my LEDS up to 3/4 power then use the following set up, with adjustments for ambient light when relevant.
24-70mm Lens
Aperture between 2 and 4
Shutter speed around 125-160
ISO 400
I like things to be as simple as possible when on set, so generally have go to settings like the above that mean that I can just tinker as required but still focus my attention on being in the moment and enjoying the shoot!
Recently I have been experimenting with holding a prism to the side of my lens and rotating it slowly to reflect the LED light into the image as a light leak. I personally love the effect that a prism gives as I'm a sucker for rainbows but it's not to everyone's taste!
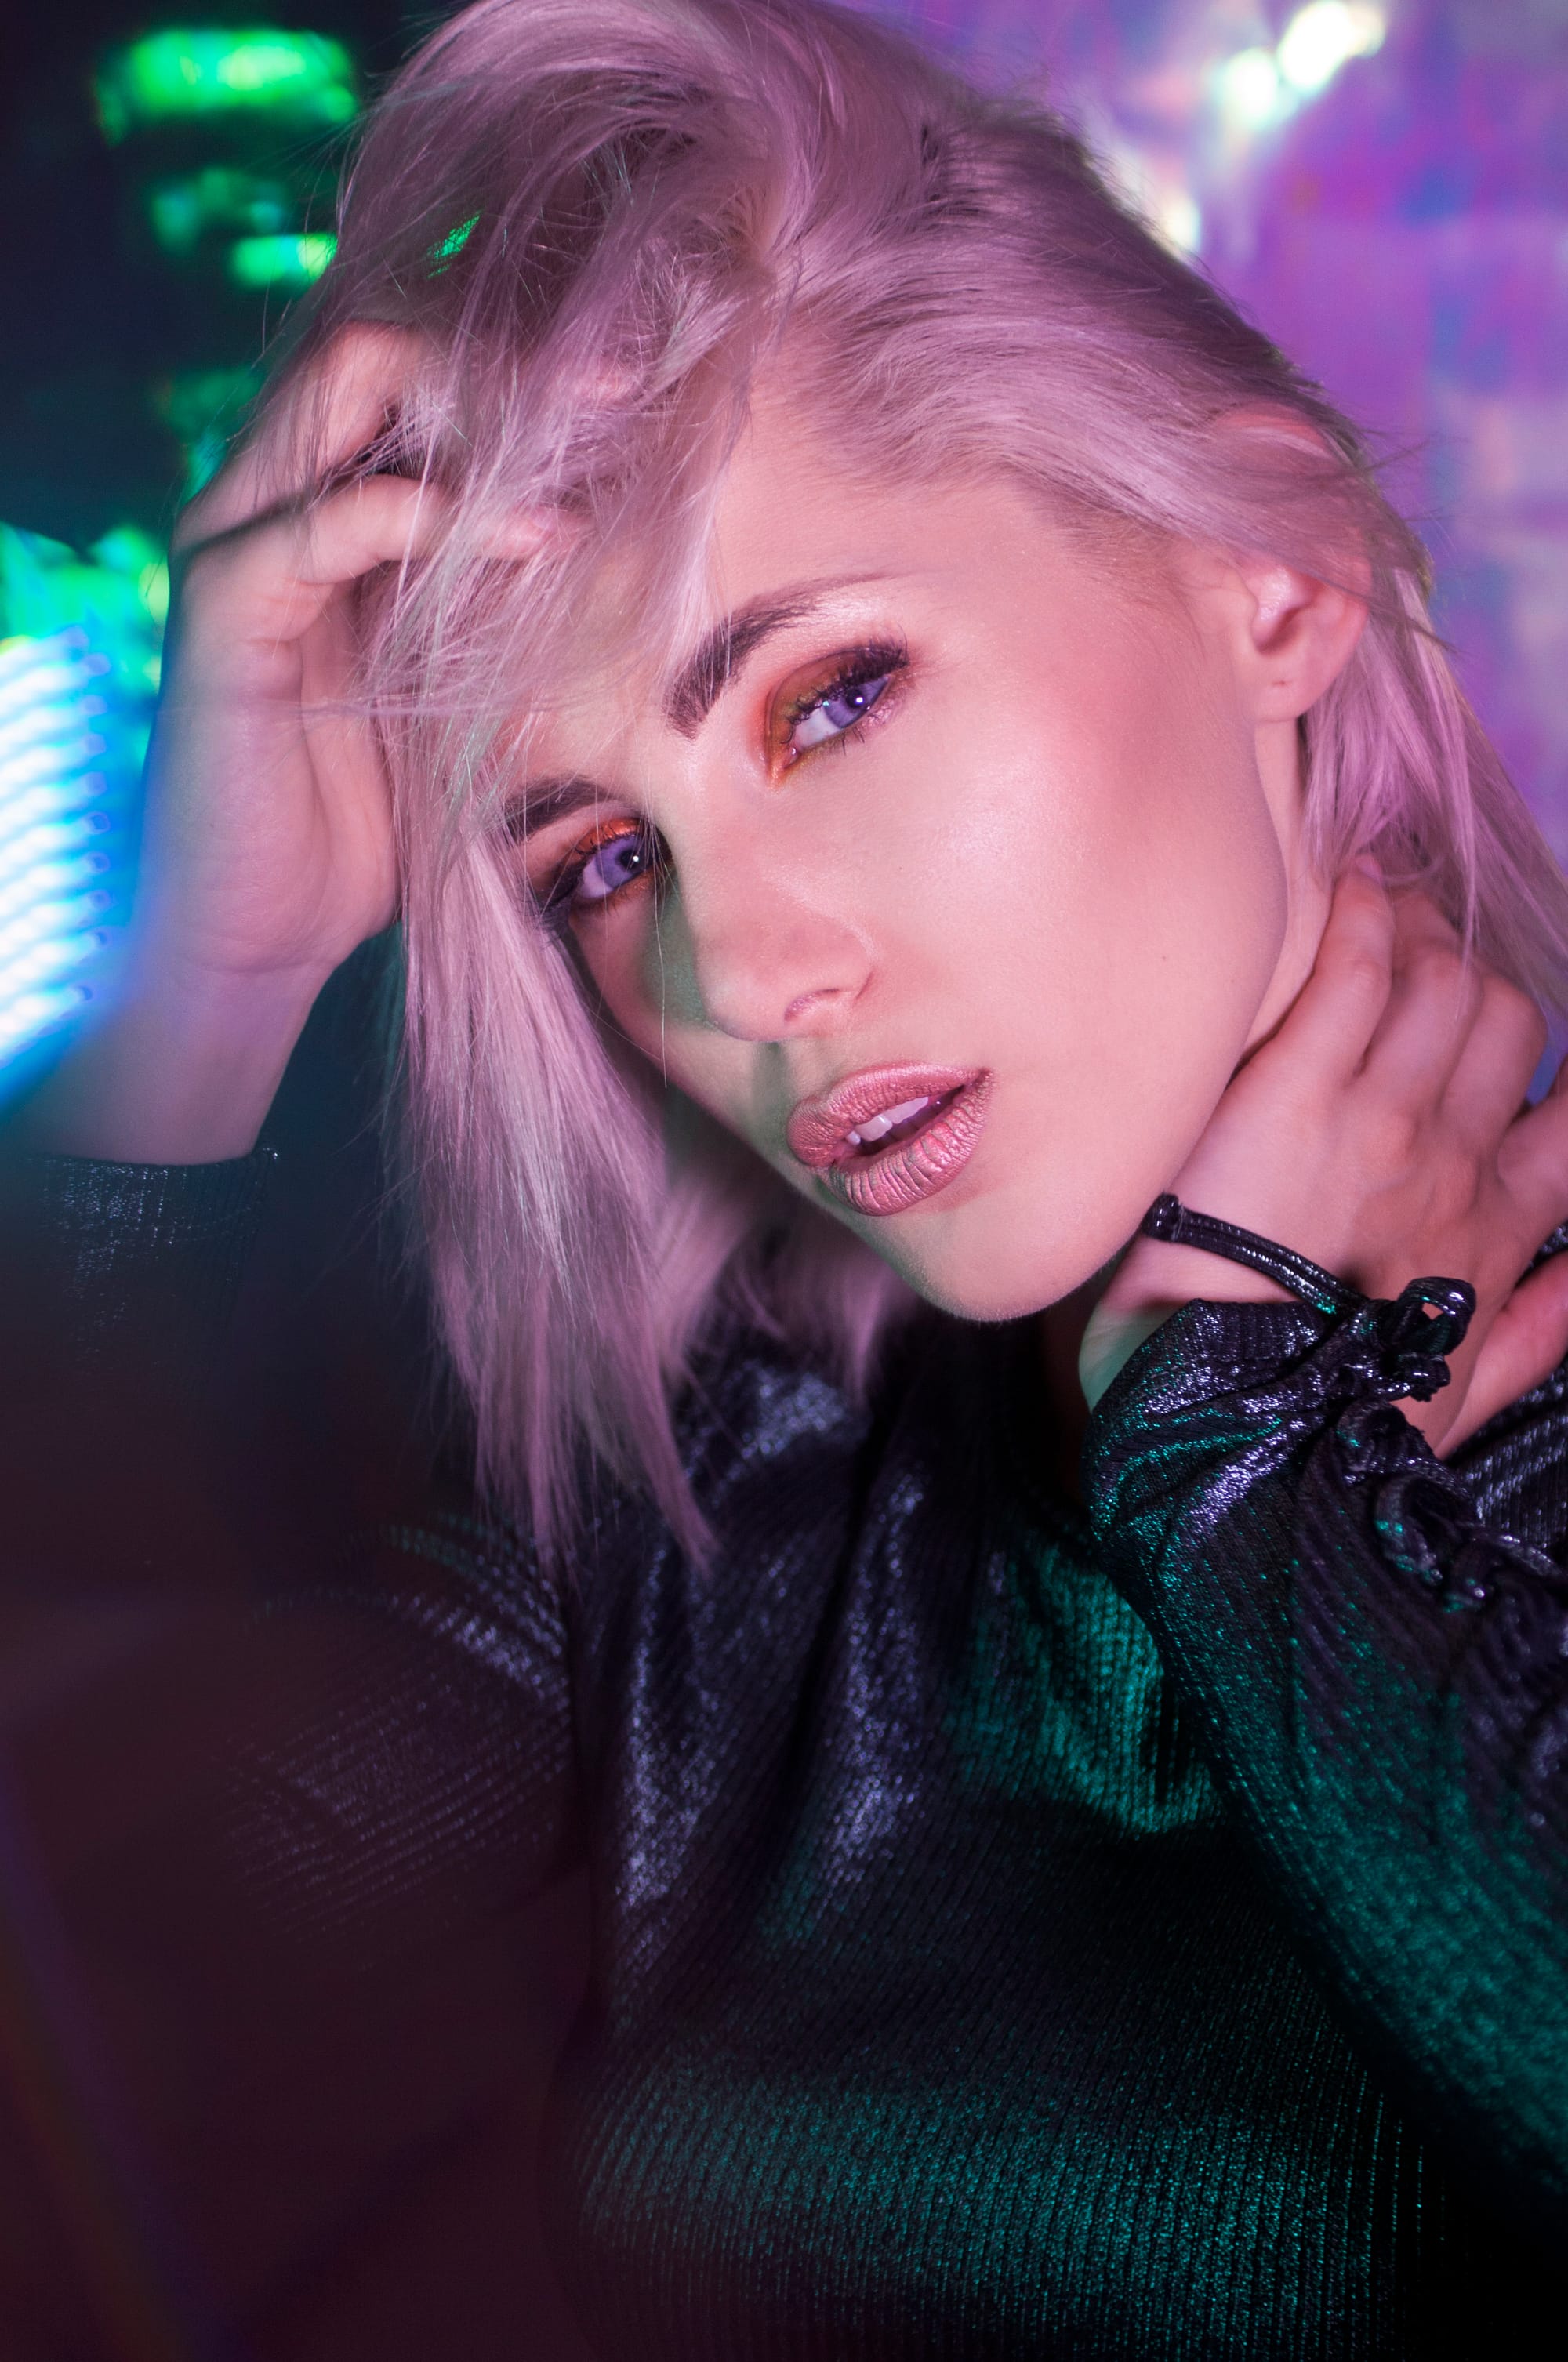
When it comes to gels, I usually find that I have favourite colour combinations which are sometimes based around similar tones (pink & purple) and sometimes on colour opposites (green & red) and it will really depend on how subtle I want the end effect to be.
Red can be a tricky colour, sometimes showing up pores in the skin or uneven texture, so I always use reds off to the side a little more.
The great thing about using gels is that there are so many combinations of colour, so every time is an experiment.
Often I like to use one of my lights with the normal daylight filter provided (orange toned filter) and one of them with a gel filter (let's say pink for the purpose of this post) to add a super subtle dash of colour, often complimenting the model's clothing or makeup colour.
Cost for this set up:
Neweer lights - £35
Pack of gels - £8
Prism - £7
Please note that I do have a backdrop up in the background but for these kind of shots, a plain sheet of paper taped to a wall would suffice. I also already owned the light stands, if you don't you can get them for around £20 for 2 or get crafty and gaffer tape your lights to chairs. There is no shame in being thrifty as long as you can get the results!
I hear from some people that gels have been "used to death" but then again, you could say the same about Rembrandt lighting, artistic nudes against natural backdrops or the vast majority of photographic techniques out there. At the end of the day, it doesn't always have to be new if you enjoy it but it's always good to try and put your own stamp on it!
Have fun! 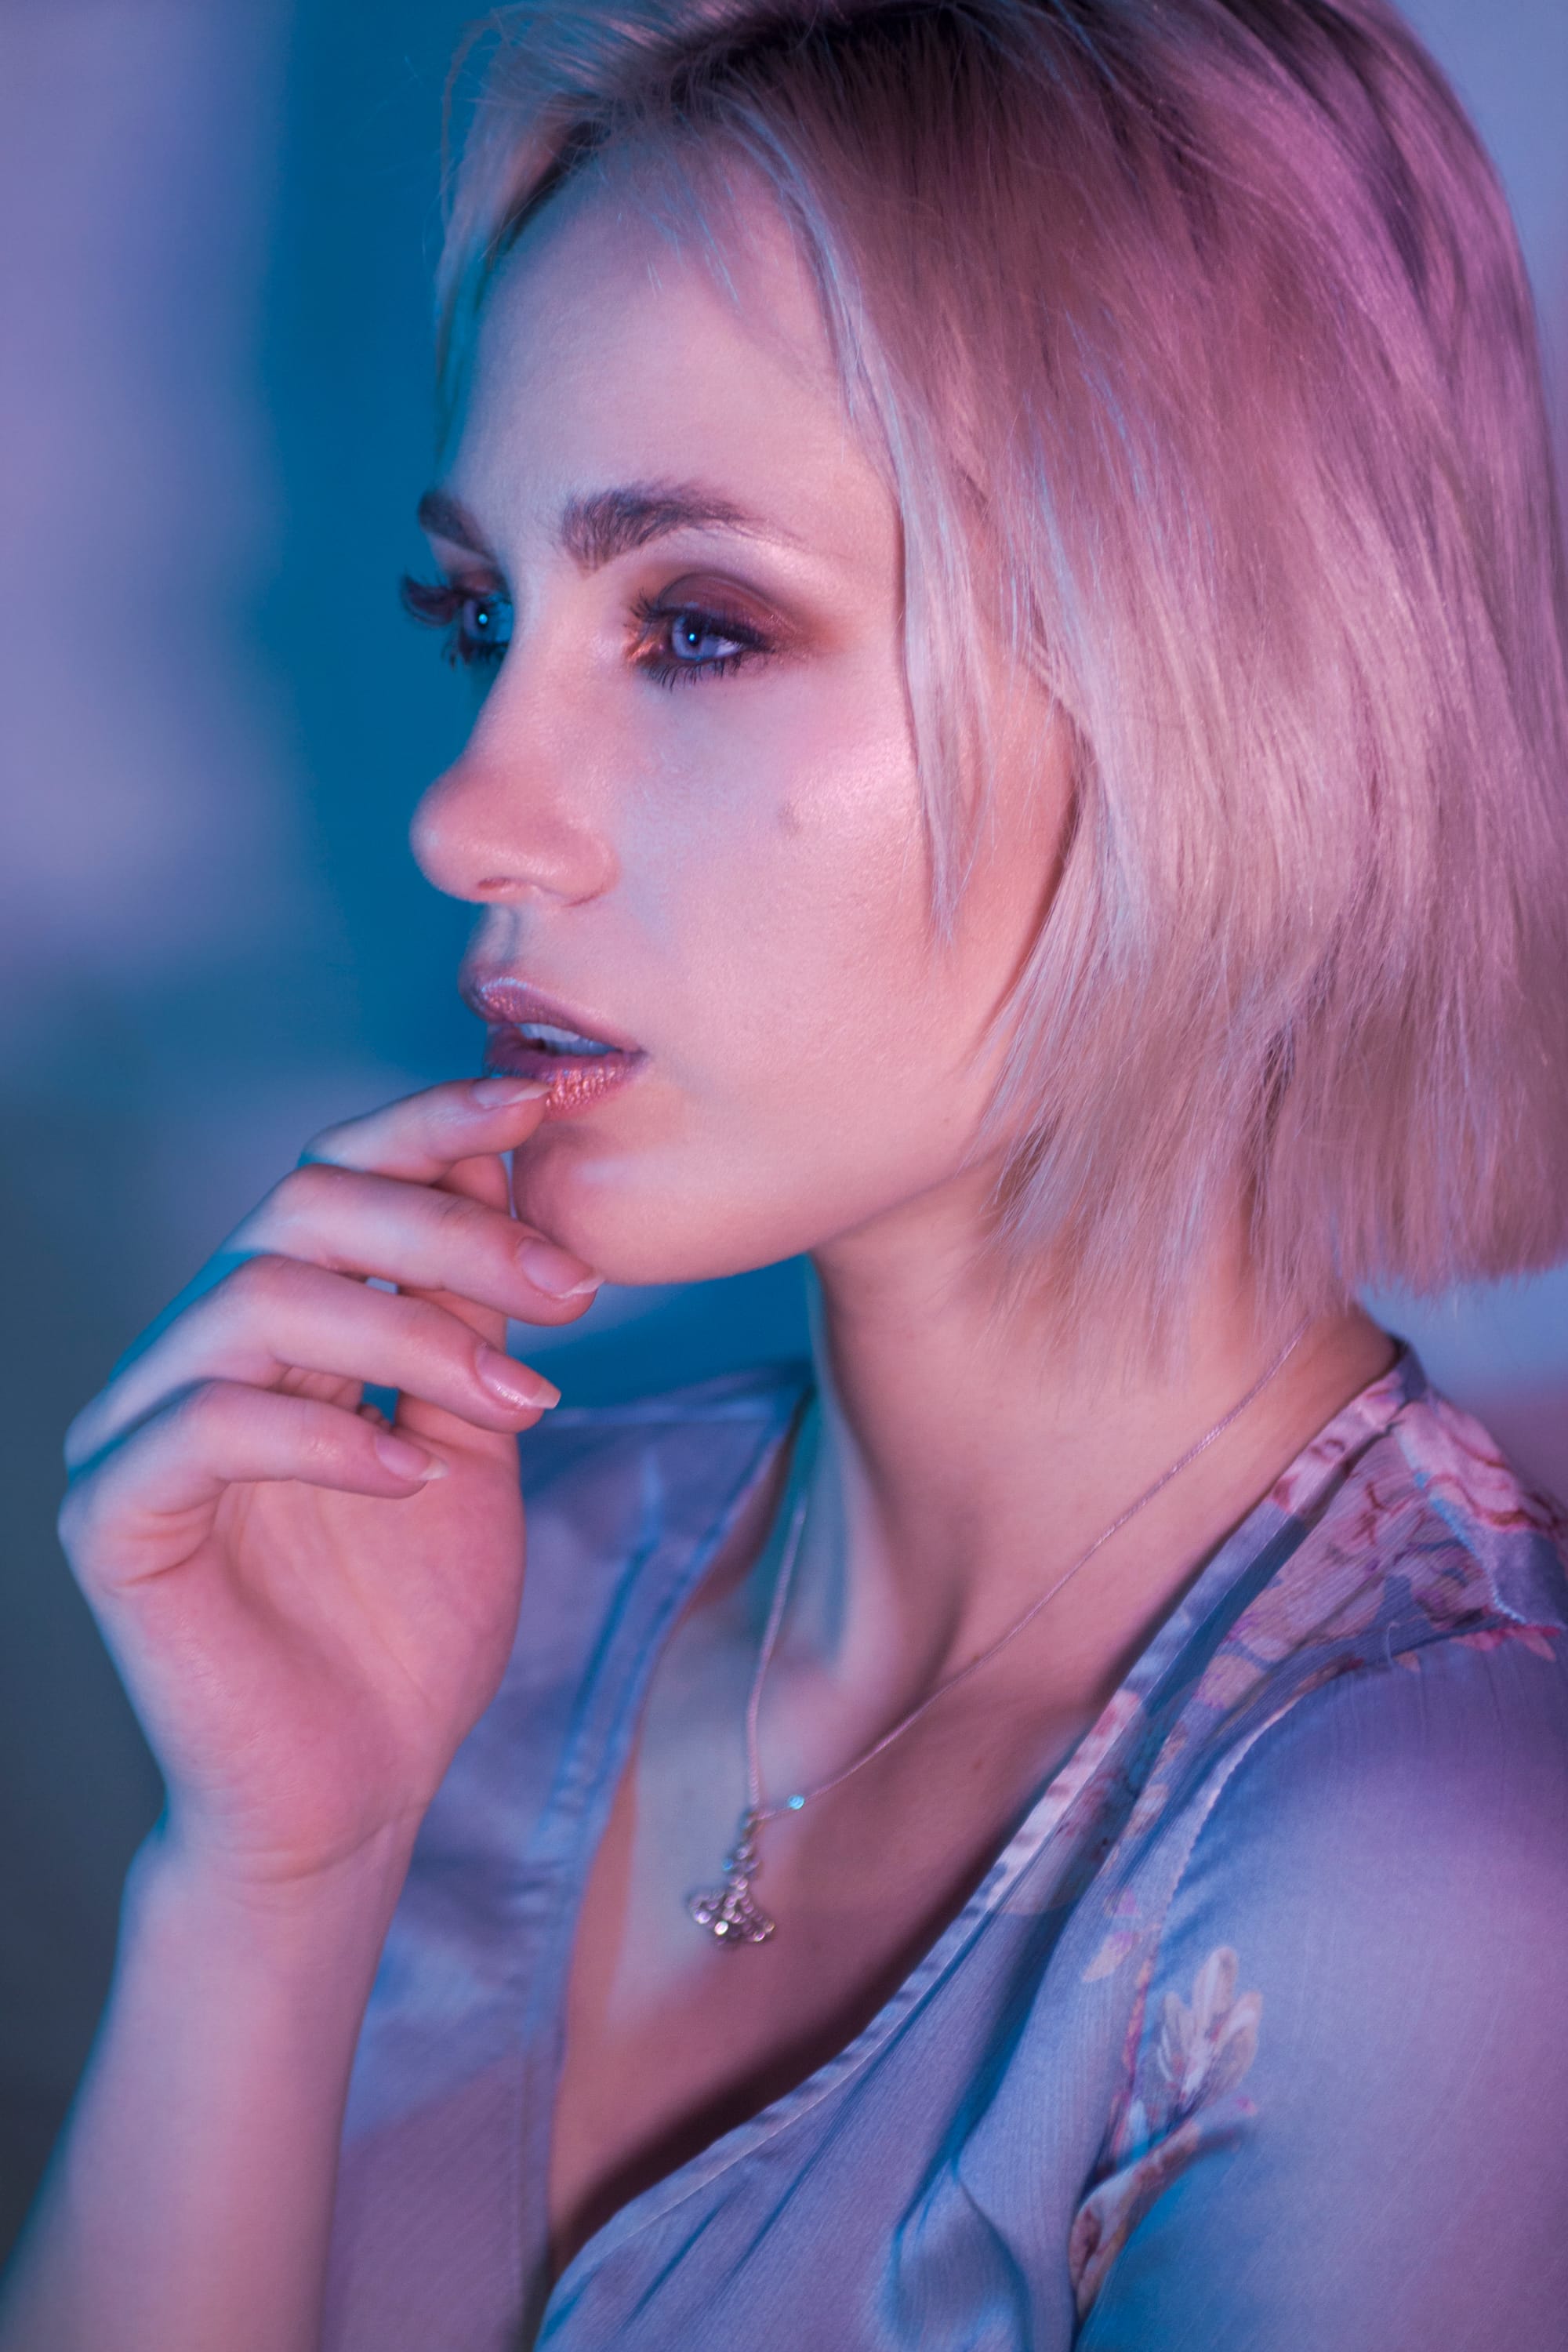
Model is Simone Stocks


