Retouch

"Photoshopping" images is the subject of much controversy.
99% of professional images that you see with have been retouched and sometimes more drastically than others. Photoshop doesn't have to be something to be afraid of though, as often much of the retouch work has nothing to do with the model!
As a former model, I have seen images of me photoshopped to the high heavens but also totally untouched and personally feel like there is satisfaction in a happy medium. I want to feel my best in an image, free of that spot that popped up that morning but I also don't want to feel like the photographer reconstructed an entirely new face for me.
I try to take this into account when retouching the images I take as I want my models to feel their best but still to recognise themselves!
You may personally prefer a more natural look or you might like the "doll like" photoshop effect, it's all a matter of opinion really but here's a little look into my usual Photoshop process.
Step 1:
Open the image in camera RAW using Adobe Bridge. I always shoot in raw as it makes it so much easier to fix stray lighting, lens distortion and many other things. Make sure that the colour tones I want are right, that there is no lens distortion and adjust the lighting if needed. This often helps when shooting on location, as sunlight is fickle and likes to dip in and out from behind clouds. If you can get it perfect on camera, that's great but sometimes, it will catch you out!
Step 2:
Open the image in Adobe Photoshop and start by using the patch tool to remove any unwanted blemishes such as spots, make up smudges or detritus in the background.
Step 3:
Open a new background layer and use the dodge and burn tools. I usually set them to around 10% opacity and paint the highlights and shadows that you want to accentuate. Think of this like contouring with makeup almost, you aren't changing anything, just bringing out the natural glow in the skin! Once I'm finished it usually looks pretty overdone so I take the entire duplicate layer down to about 30% and merge visible layers.
Step 4:
At this point I will check the crop of my image and make sure I am satisfied before going on to my favourite part - colour grading!
For colour grading you can download pre-made photoshop actions and adjust them using the sliders in your layers section, use colour balance tools on the adjustment panel or use gradient maps.
For gradient mapping I make a duplicate background layer then select gradient maps from the adjustments section. I usually go for the orange and purple toned gradient but they are worth playing about with and you can even create your own!
Once I've selected the one I want, I drop layer opacity to around 10% and toggle between the different modes. The default is normal (found beside the layer opacity) but I often find that Lighten, Screen or overlay are my go to. I adjust opacity until I am happy and then merge visible layers.
Step 5:
At this point, sometimes I like to go in with the sponge tool set at around 15% and saturate the colour of eyes, lips or makeup a little more to really make them pop.
Step 6:
Sharpen the image using either unsharp mask at my desired level or the sharpen tool on particular areas I would like to take focus. I always set this to a subtle level so as not to look overly sharp when compared to the rest of the image.
At this point I'm usually pretty much done for my usual style.
I try to only use tools that manipulate body shape when the garment the model was wearing has bunched up and is adding a weird bump that wasn't there or there is a rouge piece of hair that is super distracting. Basically only to correct things that aren't usually there at all on the model. If you are in the studio, flattering lighting makes everything 10 times quicker retouch wise anyway!
I hope this is helpful! 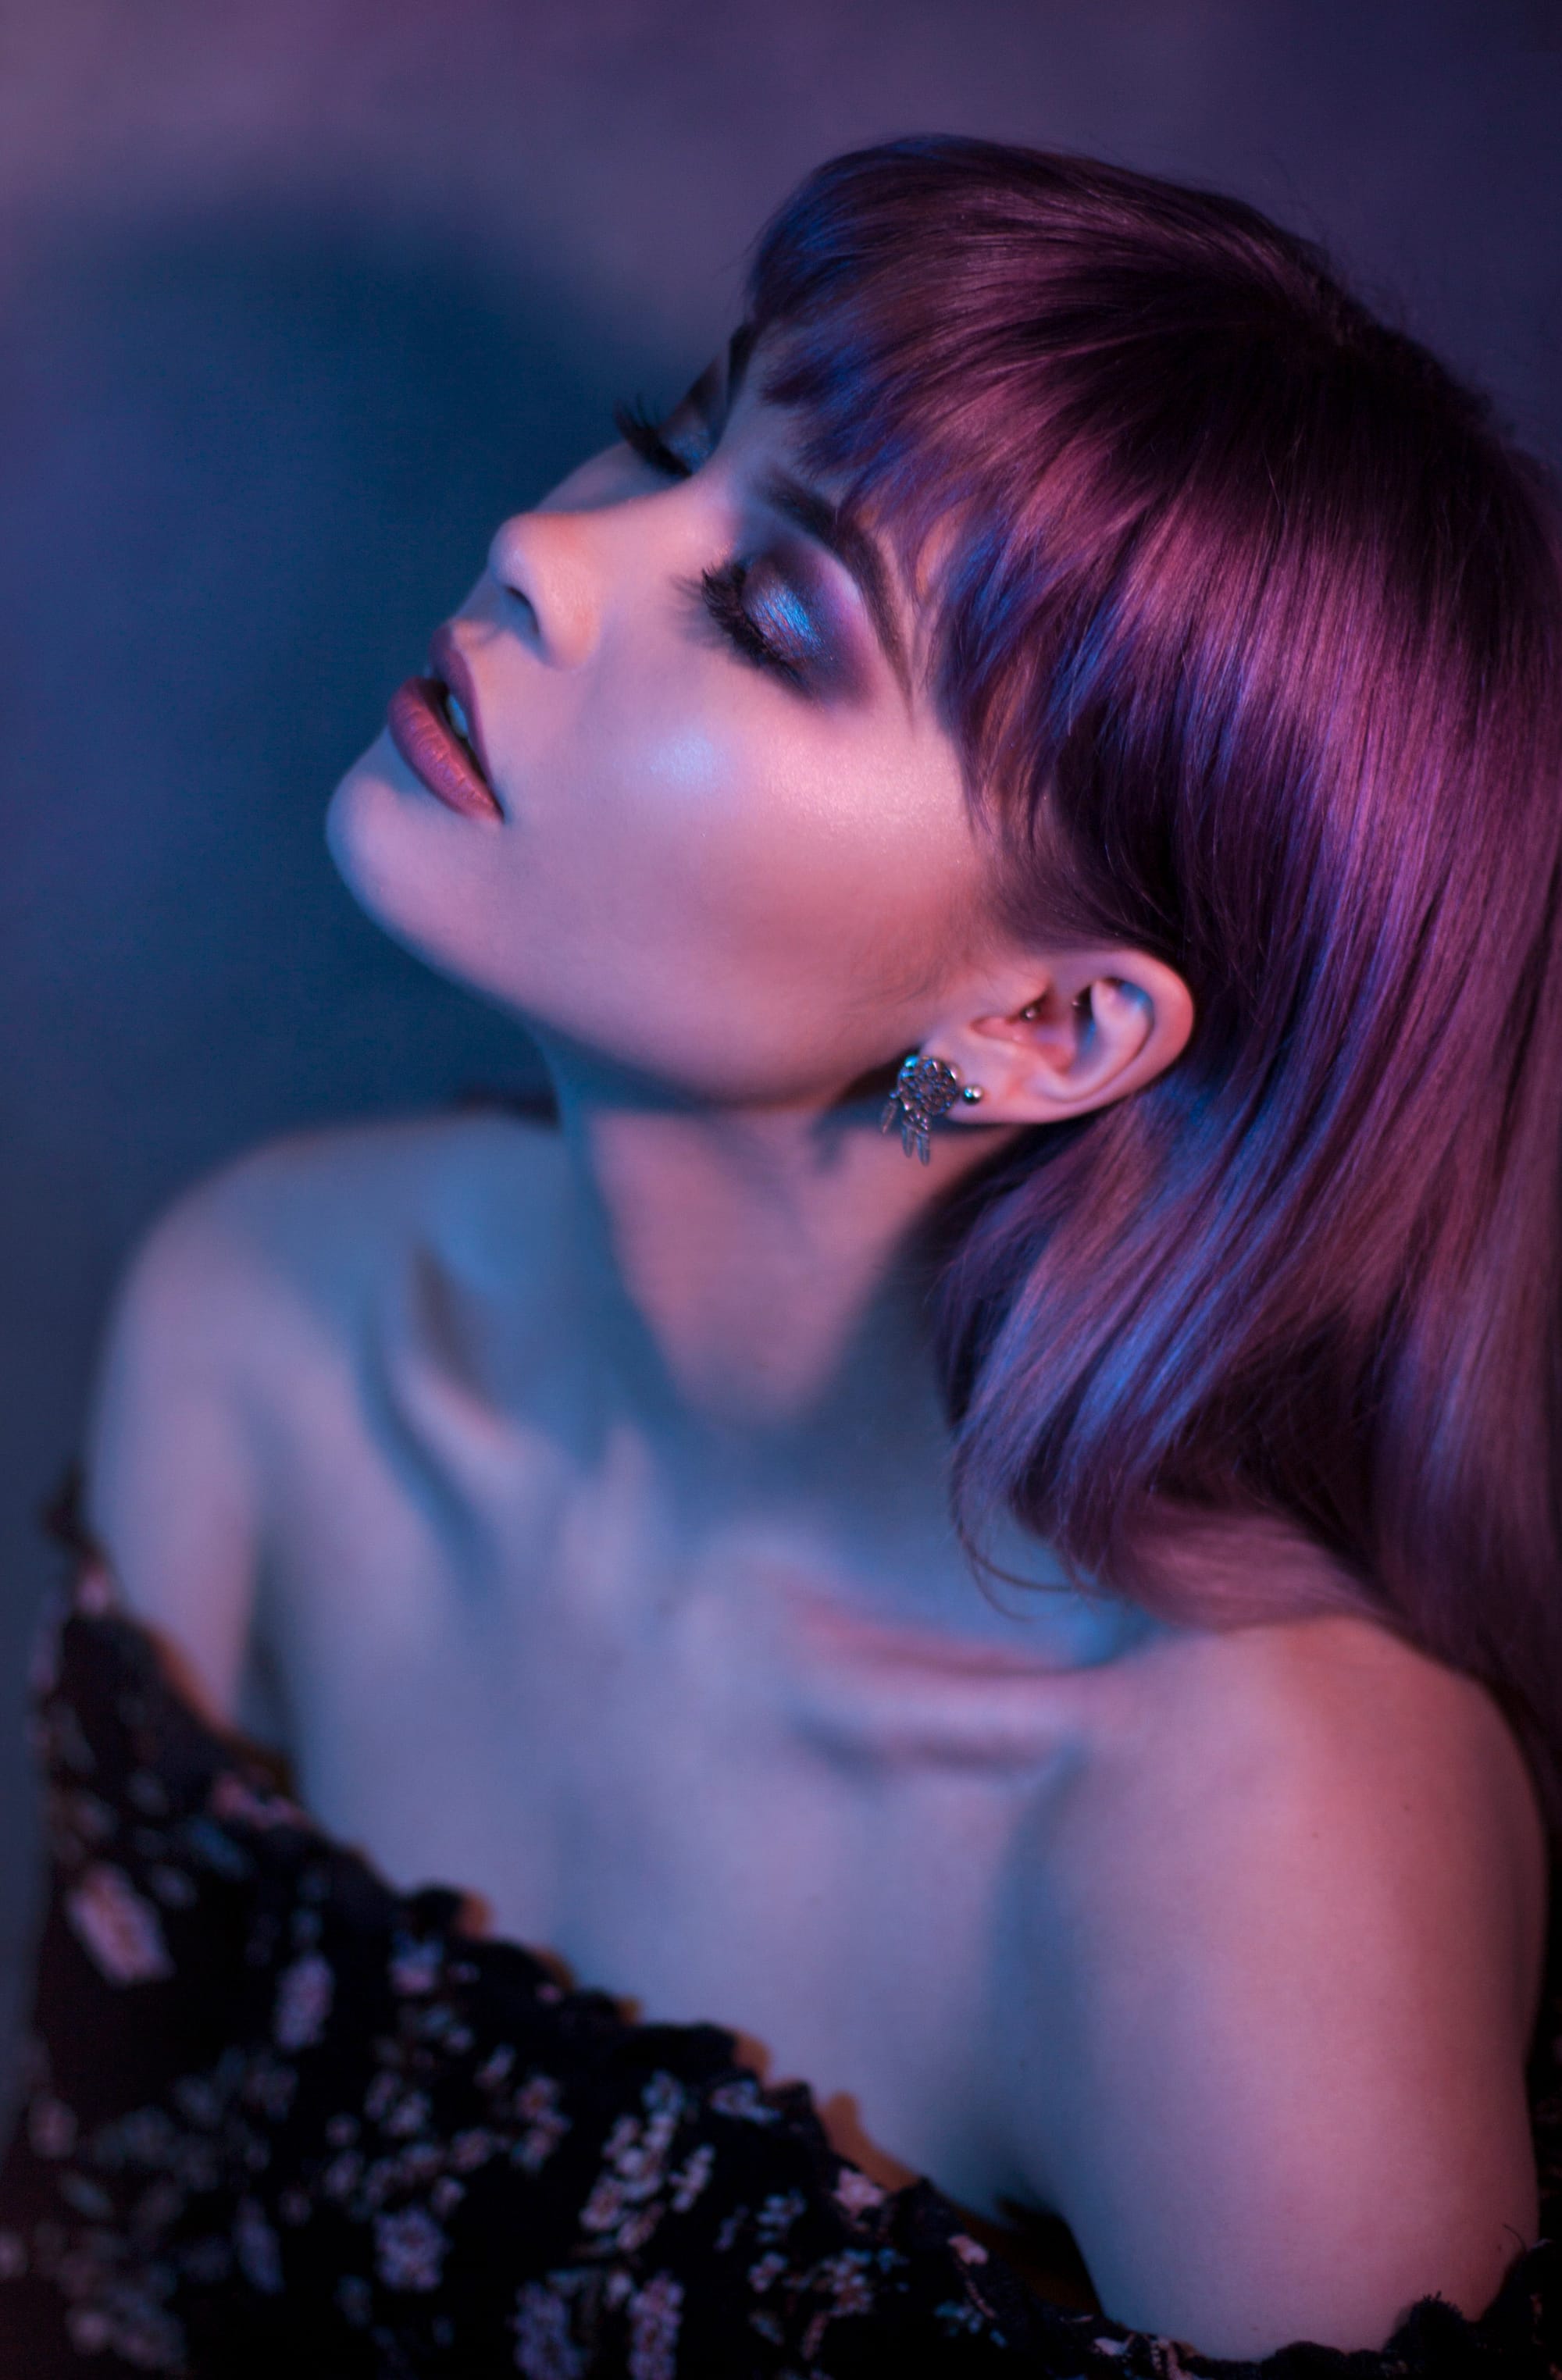 Model is Tasha Lawer


